
As I promised in last week’s Friday Favorites, here’s my other favorite cheesecake recipe. It’s called Southwest Cheesecake, and it is of the salty cheesecake variety. As with most recipes that I try, I am not certain what possessed me to try it! I am not a cheesecake fan, and I had no clue that salty cheesecakes existed. What possessed me to give this recipe a whirl? I’m thinking the biggest contributing factor was my husband’s love for cheesecake! Regardless of the reason for trying the recipe, I am so, so, so, so glad that I did! It’s fabulous!
Here are several reasons why I adore this recipe:
*It’s always a crowd pleaser. This recipe is delicious, in case you were curious! Every time I take this cheesecake to a gathering someone asks for the recipe! That always makes me a happy chef. 🙂
*It feeds an army. This is a great appetizer to take to or to serve at a party, event, or gathering. It’s almost as if the cheesecake multiplies as it is served. The cheesecake goes a long way. It is a crowd pleaser and feeds that crowd handily.
*It’s best to make it ahead. I get stressed out when I’m taking “party food” to a gathering. I usually make a dish the day of the event, but I’m always fearful that a recipe might flop. Then, if the recipe does flop, what would I take to the party?!?! The Southwest Cheesecake has made my “party food” anxiety fade away. The Southwest Cheesecake needs to be refrigerated for several hours, so it’s actually best if I make it the day before the gathering I’m attending. This recipe makes me stress free the day of the event because I already have the Southwest Cheesecake made! Plus, if the recipe flops, though it never has for me, I have ample time to remake the recipe before the event. Don’t you love being stress free?!?!? I do! 🙂
*It’s easy to make. I wrote in last week’s
Banana Pudding Cheesecake post that making a cheesecake is actually
super simple! The Southwest Cheesecake falls into that same category: cheesecakes=easy to make.
Southwest Cheesecake
adapted from Southern Living’s version
1 1/2 cups crushed tortilla chips
1/4 cup butter, softened
2 packages of cream cheese (8 oz. package. I use Nefuchatel cream cheese.)
2 cups Monterrey Jack or Pepper Jack cheese (depending on your “spice” level), shredded
2 cups sour cream (or one 16 oz. container of sour cream), divided
3 large eggs
1 1/2 cups salsa
Guacamole or salsa, to garnish
2 bags of tortilla chips
Directions:
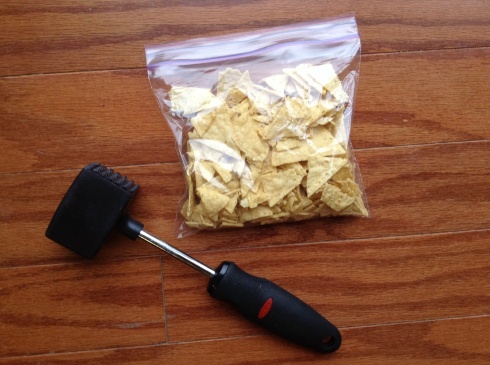
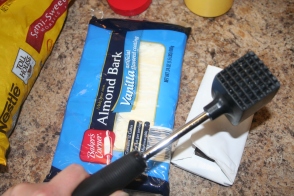
1) Crush tortilla chips until you have 1 1/2 cups. (Kitchen Tip: I put whole tortilla chips into a ziploc bag and crush them with a kitchen hammer until I have the correct amount.)
This is what the tortilla chips look like before I use the kitchen hammer…
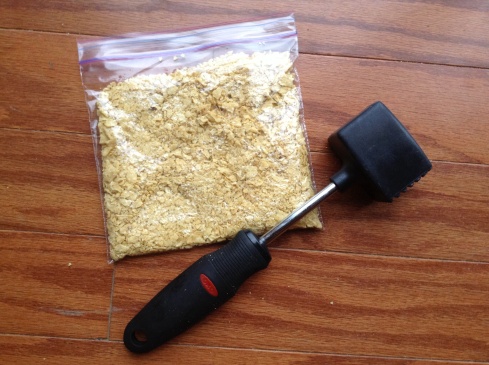
This is what the tortilla chips look like after I release a little aggression via my kitchen hammer. ha! 🙂
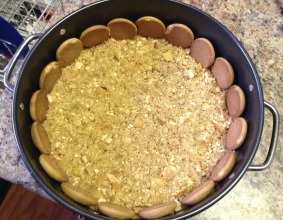
2) Combine melted butter and crushed tortilla chips. Press into bottom of greased, 9 inch springform pan.
3) Bake the crust at 350 degrees for 12 minutes.
4) Remove crust from oven and cool on wire rack.
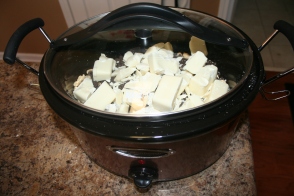
5) Combine cream cheese and shredded Monterrey jack cheese and beat with mixer until well combined.
6) Add 1 cup of sour cream and mix until combined.
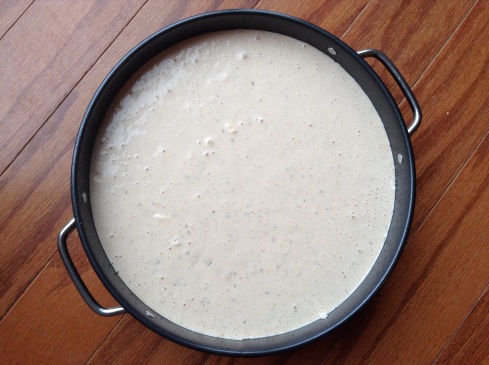
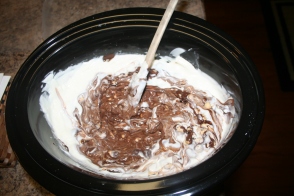
7) Add eggs one at a time into existing mixture until well combined. Stir in salsa and pour into prepared crust. It should look something like this…
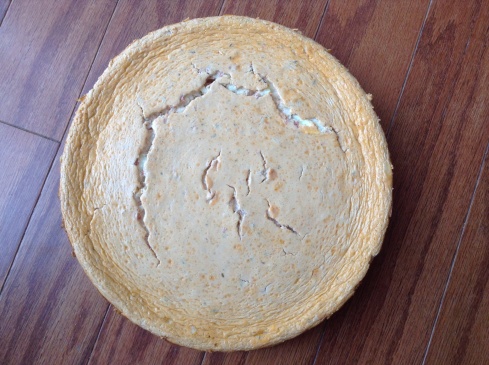
8) Bake at 350 degrees for 40-45 minutes until the center is almost set. I shake the cheesecake, if it still “jiggles” in the center I cook additionally for 2 minutes (and repeat) until the center only slightly moves. It should look something like this. If there are craters or cracks on the top, no worries! They will be covered up. 🙂
9) Let cheesecake stand for 10 minutes on wire rack. After 10 minutes, run a knife around the edge of the cheesecake to loosen the edge of the cheesecake from the springform pan. Cool completely.
10) Spread remaining 1 cup sour cream onto top of Southwest Cheesecake. Cool, minimally, 3 hours or up to 1 day.
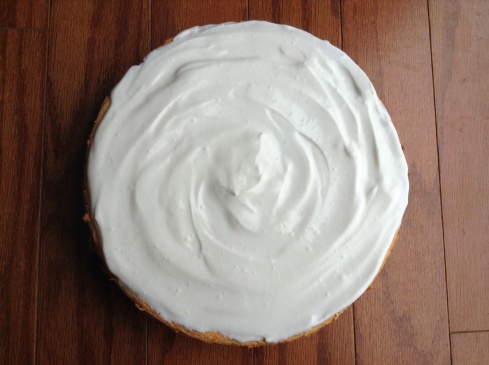
11) Additional toppings of guacamole or salsa can be added onto the sour cream as a garnish before serving. Serve with tortilla chips. Here’s a tip with this salty cheesecake–do not cut the cheesecake into wedges and serve as you would a sweet cheesecake. Use a spoon to scoop out desired amount to serve.
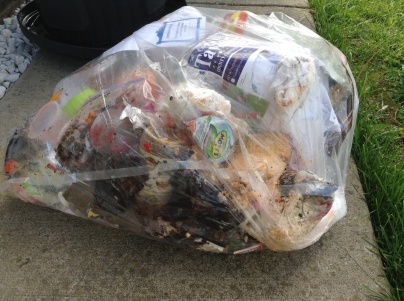
I made this recipe last week for our Classical Conversations End of Year Celebration. I was hoping to include with this blog post a picture of my finished Southwest Cheesecake with the additional toppings I included before serving. However, sadly, the Southwest Cheesecake fell on the floor of our van en route to our house after our End of Year Celebration. Yes, it made a magnificent mess in our van, and no, I did not get a “finished product” picture for you. 😦 I did manage to capture a picture of the Southwest Cheesecake in the trash bag shortly after the beautiful, amazing, tasteful cheesecake crashed onto our van floor. There it is in the lower right hand corner of the picture. Wishing the picture of the Southwest Cheesecake could be better, but for now, this one will have to do. 🙂 ha!
Enjoy this yummy recipe!
Tags: Cooking from scratch, DIY, Friday Favorites, frugal, recipes
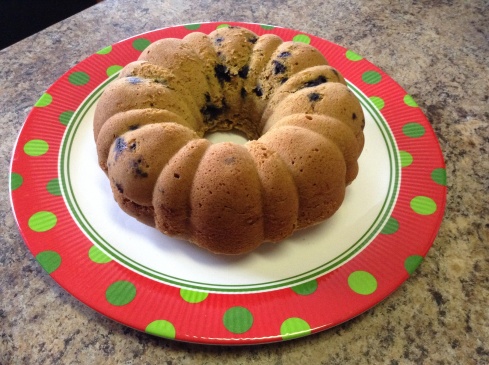 One of my Thanksgiving and Christmas traditions is to make this fabulous, I-always-want-two-pieces-at-a-time Blueberry Pumpkin Poundcake. Well, this week three butternut squashes kept staring me in the face in my fridge, so I decided to make the cake for our small group Christmas party substituting butternut squash instead of the pumpkin. I assumed that it could be substituted easily and without sacrificing amazing flavor. It was a gamble, but I rolled the dice. Guess what? Same ol’ yumminess. So, if you ever have butternut squash staring you in the face, try this recipe and wow your friends with your this amazing cake! For the original recipe, visit this previous post.


